
How to prepare your dog’s coat for clipping
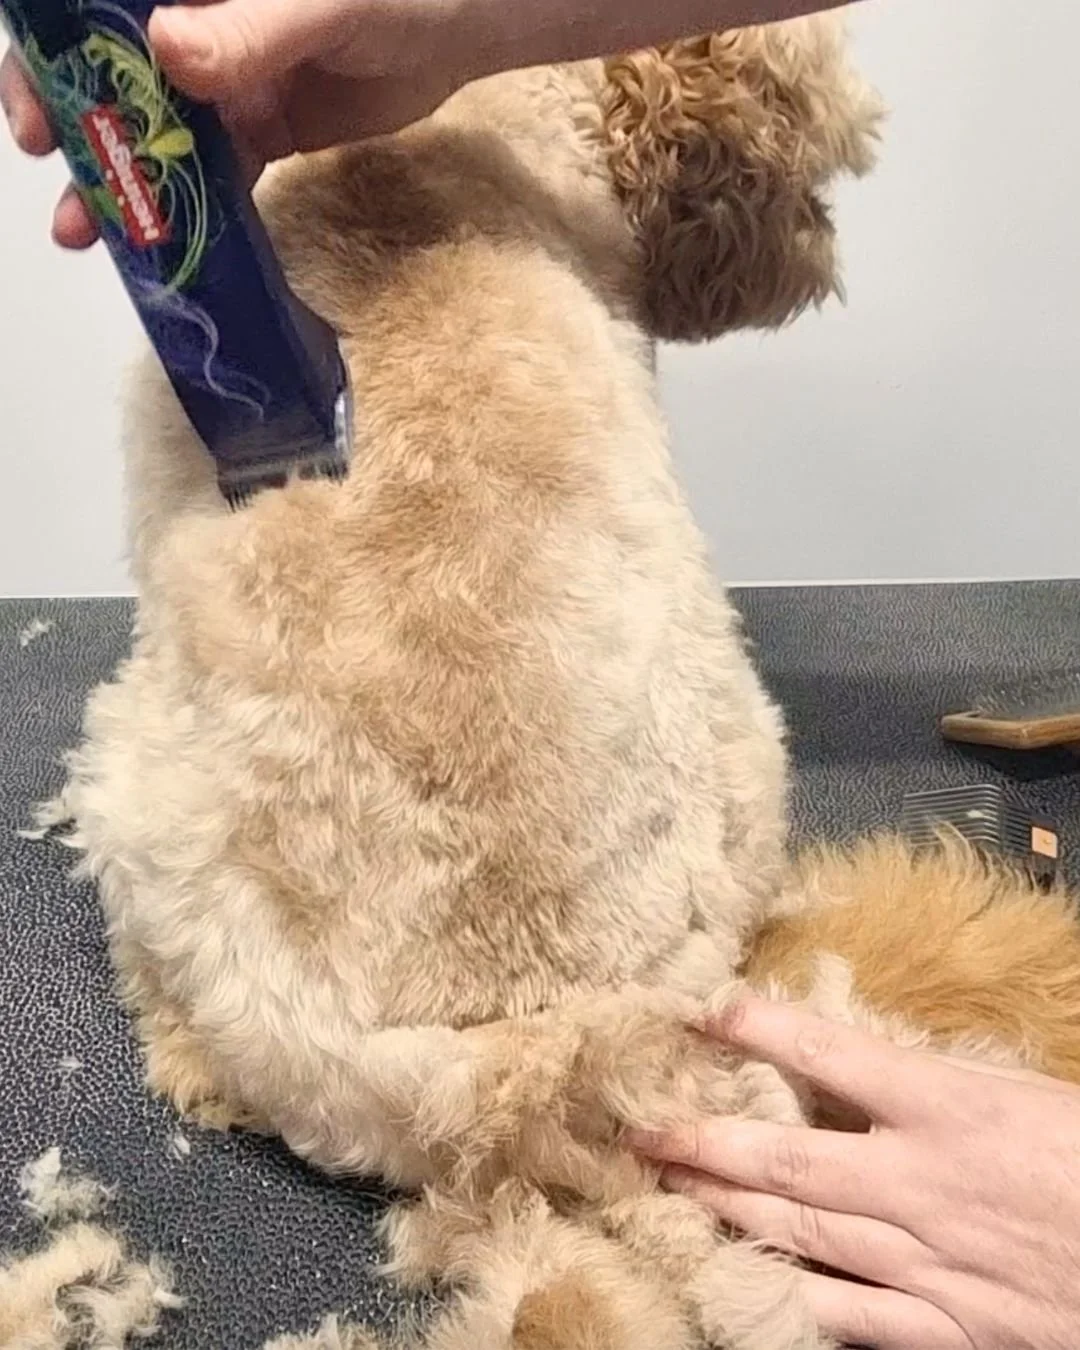
If you want a professional-looking haircut, preparing your dog's coat before clipping is just as important as the clipping itself.
Many home groomers make the mistake of clipping a dirty, tangled or damp coat. Not only can this produce an uneven finish, but it can also cause your clippers to snag on knots, pull on your dog's skin and blunt your clipper blades much faster.
Whether you're grooming a Cavoodle, Groodle, Spoodle, Labradoodle or any long-haired dog, following these four simple steps will make clipping easier, safer and give you a much better result.
Why coat preparation is so important
Before you even turn your clippers on, your dog's coat should be:
Free from knots and mats
Clean
Completely dry
Fluffed and brushed straight
Skipping these steps can result in:
Uneven clipper lines
Clippers catching on knots
Painful pulling on your dog's skin
Faster wear on your clipper blades and scissors
A haircut that looks choppy instead of even
What you'll need
Before you begin, you'll need:
De-matting comb (if needed)
A pair of dog grooming clippers, I use Heinigar cordless clippers
Step 1: Brush the coat
The first step is thoroughly brushing your dog's coat with a slicker brush to remove every knot and tangle.
One of the biggest mistakes owners make is only brushing the surface of the coat. Mats usually develop close to the skin, especially on long-haired breeds.
The best technique is line brushing, where you gently part the coat and brush small sections from the skin outwards.
After brushing each section with your slicker brush, run a metal comb through the coat. If the comb catches, there's still a knot hiding underneath.
If you discover mats that won't brush out, don't force them. Use a de-matting comb or safely clip them out before bathing.
Related article: How to remove mats from your dog's coat
Step 2: Do a rough pre-clip
Once the coat is knot-free, it's time for a rough pre-clip.
The goal isn't to produce the finished haircut, it's simply to remove the excess coat before bathing. This means you'll spend far less time washing and drying fur that's going to be clipped off anyway.
What about nails and hygiene clipping?
Many professional groomers trim nails and complete the sanitary clip before the bath.
Personally, I prefer trimming nails at the end of the groom after I've shaped the feet because I can see the nails much more clearly.
I also prefer completing the sanitary (hygiene) trim after bathing and drying, although either method works.
Related article: How to trim your dog's sanitary area
Step 3: Bathe your dog
Once the bulk of the coat has been removed, it's time for a bath.
Wash your dog using a quality dog shampoo and conditioner before towel drying to remove as much excess water as possible.
A clean coat not only looks better but also helps protect your clippers and scissors from unnecessary wear.
Related article: How to bathe your dog at home
Step 4: Blow-dry the coat
Drying is one of the most important steps of the entire grooming process.
As you dry the coat with a high-velocity pet dryer, brush through the fur with your slicker brush at the same time. This straightens curly hair and creates the fluffy finish that allows your attachment combs and clipper blades to glide smoothly through the coat.
A properly fluff-dried coat produces a much smoother, more even haircut than clipping damp or curly fur.
Watch my video: How to dry your dog using a pet dryer
Common coat preparation mistakes
Avoid these common mistakes:
Bathing before removing mats
Only brushing the surface of the coat
Clipping a damp coat
Skipping the comb check after brushing
Rushing the drying process
Taking a little extra time during coat preparation will make the clipping stage much easier and produce a far better result.
Watch my step-by-step video
Want to see exactly how I prepare a dog's coat before clipping?
In the video below, I'll walk you through my complete grooming preparation routine, including line brushing, removing mats, pre-clipping, bathing and fluff drying so your dog's coat is perfectly prepared for clipping.
Along the way, I'll also share the techniques I use as a professional dog groomer to achieve a smooth, even finish at home.
Watch the full step-by-step tutorial and groom along with me >
I’m a qualified dog groomer and fur-mum to two cavoodles; Soda and Poppy. I’m passionate about the health and wellbeing of dogs, as well as helping dog parents groom their dogs at home. I’ll teach you the basics, however if you don’t feel comfortable or confident at any time that’s completely fine, book your dog in for a regular groom and pamper session at the salon. Please never leave your dog unattended on a grooming table.
Disclosure: Healthy Happy Paws is a reader supported website. If you purchase products through links on this website we may earn a small commission at no additional cost to you.