
How to dry your dog using a high-velocity pet dryer
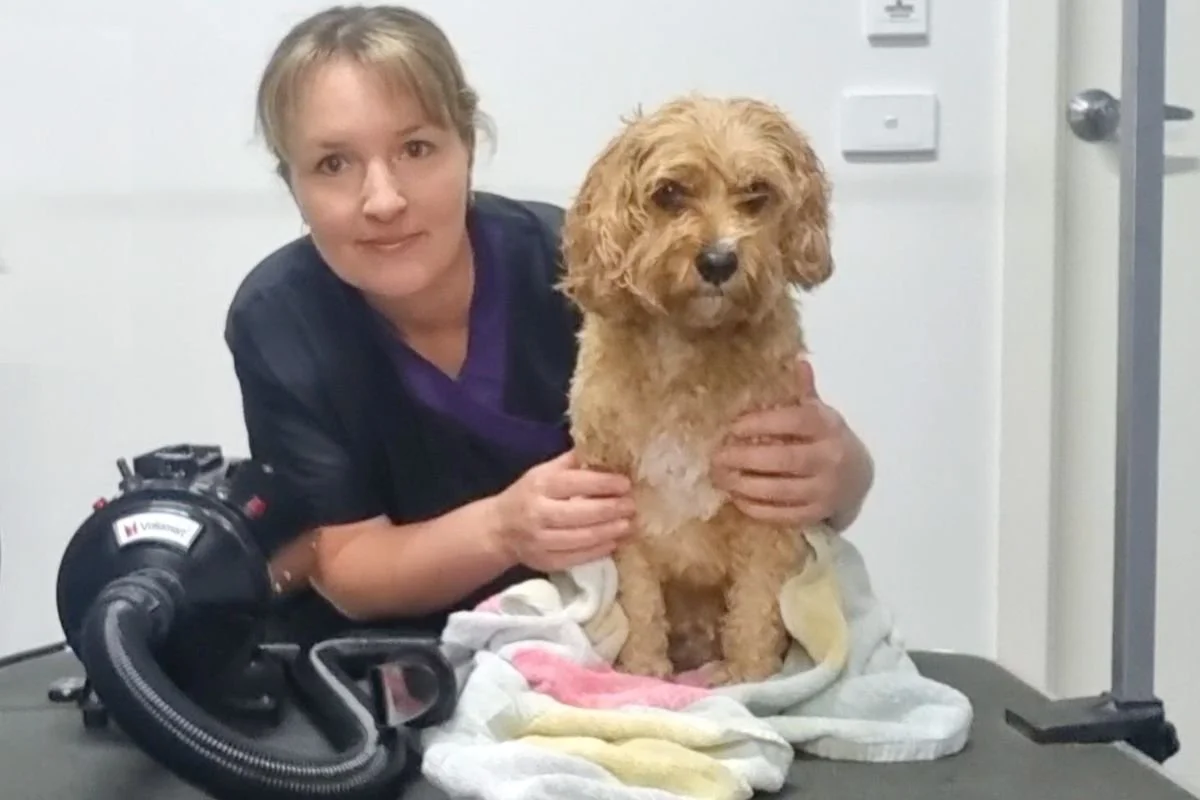
Drying your dog properly after a bath is one of the most important steps in the grooming process. A high-velocity pet dryer not only dries your dog's coat much faster than air drying, but it also helps straighten the coat and gives your dog that soft, fluffy finish they have after visiting the groomer.
Whether you're grooming a Cavoodle, Groodle, Spoodle, Labradoodle or any long-haired dog, learning how to use a pet dryer correctly will improve the overall finish of your groom.
Why use a high-velocity pet dryer?
Unlike a human hair dryer, a high-velocity pet dryer uses powerful airflow to blast water from the coat rather than relying on heat to evaporate it.
Using a pet dryer helps:
Dry your dog much faster.
Straighten curly or wavy coats before clipping.
Loosen loose undercoat, knots and small mats.
Avoid overheating your dog's sensitive skin.
Because dogs have much thinner skin than humans, I don't recommend using a regular human hair dryer, especially on a hot setting, as it can dry out or even burn their skin.
What you'll need
Before you begin, you'll need:
Happy hoodie (for dogs scared of loud noises)
Cotton wool for your dog's ears (optional)
Small treats or a lick mat to reward your dog. Looking for ideas? Check out my 10 irresistible lick mat recipes to help keep your dog happy and distracted during grooming.
Before you start drying
Once your dog has had a bath, thoroughly towel dry them first to remove as much excess water as possible.
If your dog is nervous around loud noises, you can place a small ball of cotton wool in each ear to help muffle the sound. I also like using a happy hoodie, which applies gentle compression around the ears and head to help many dogs feel calmer while also absorbing moisture from the ears.
Remember that every dog is different. Some dogs happily stand through the entire drying process, while others need plenty of reassurance, breaks and treats. Go at your dog's pace and make the experience as positive as possible.
How to dry your dog
I like to start drying the back first because the airflow isn't blowing directly towards the dog's face, making this the area most dogs tolerate best.
Begin on a low airflow setting and hold the dryer further away from your dog's coat. As they become more comfortable, gradually move closer and increase the airflow if they're happy.
Rather than moving the dryer in circles, use an up-and-down motion. Circular movements can easily create tangles, particularly in long or curly coats.
Work your way around the body, drying one area as much as your dog will comfortably allow before moving to the next section.
Fluff drying
To achieve that soft, straight, fluffy finish professional groomers are known for, hold the dryer in one hand and a slicker brush in the other.
Brush the coat as you dry, working from the skin outwards. This separates the hair, allows air to reach deep into the coat and helps straighten the fur for a much smoother finish when clipping.
After drying each section, run your hand through the coat to make sure it's completely dry right down to the skin, not just on the surface.
If your dog doesn't like the dryer
Not every dog enjoys being blow dried, and that's perfectly okay.
If your dog becomes uncomfortable, lower the airflow, remove the dryer nozzle to reduce both the noise and air pressure, and reward them with treats throughout the process.
For particularly nervous dogs, you don't have to dry every area perfectly. I often leave the face until last so it has time to partially air dry before introducing the dryer.
If your dog finds the dryer too stressful, you can let them air dry instead before clipping. Just keep in mind that air-dried coats often dry with more waves or curls, so the finished haircut may not be quite as smooth.
Some owners even split the grooming process over two days, bathing one day and clipping the next, once the coat has fully dried.
The goal is to make grooming a positive experience for both you and your dog.
Watch my step-by-step video
Want to see exactly how I dry a dog's coat from start to finish?
In the video below, I'll show you how I introduce a high-velocity dryer to nervous dogs, fluff dry the coat using a slicker brush, dry tricky areas like the face, ears and legs, and share the techniques I use as a professional dog groomer to leave the coat soft, straight and ready for clipping.
Watch my full step-by-step tutorial and dry your dog along with me >
I’m a qualified dog groomer and fur-mum to two cavoodles; Soda and Poppy. I’m passionate about the health and wellbeing of dogs, as well as helping dog parents groom their dogs at home. I’ll teach you the basics, however if you don’t feel comfortable or confident at any time that’s completely fine, book your dog in for a regular groom and pamper session at the salon. Please never leave your dog unattended on a grooming table.
Disclosure: Healthy Happy Paws is a reader supported website. If you purchase products through links on this website we may earn a small commission at no additional cost to you.