
How to remove fur from dog paws at home

If the fur between your dog's paw pads has grown so long that it's covering the pads and affecting their grip on slippery surfaces, it's time for a trim. Overgrown paw fur can also become matted, making it difficult to spot grass seeds, burrs and other debris that can cause discomfort, irritation and even infections. As a professional dog groomer, I've found all sorts of things hidden between paw pads, including twigs, stones, dried poo and, believe it or not, chewing gum... twice!
Today I’ll teach you how to remove fur from your dog’s paws demonstrating on Soda.
What you’ll need:
How to remove hair from dog paws at home
Trimming the fur between your dog's paw pads is relatively easy, although your dog may be a little squirmy if they're not used to having their feet handled. If that's the case, it can be helpful to have someone gently hold them while you groom. You can safely remove the excess fur using either mini trimmers or a pair of dog grooming scissors.
I prefer to use the Shear Magic Rocket 4500 battery operated mini trimmers. They’re quieter than other mini trimmers I’ve used, and believe it or not, you’re less likely to cut a dog using mini trimmers compared to scissors. I’ve seen grooming injuries caused by scissors, you can accidentally cut a dog’s paw pad with the tip of the scissors if the dog moves unexpectedly. So if you decide to use scissors please use a pair of straight dog grooming scissors with a rounded tip for safety.
Once you’re ready to start, get your dog to stand and start with the back paws (see tip below). Below you’ll see a diagram where I’ve marked up a triangle around the largest paw pad. We’re going to concentrate on removing the fur around this pad.

[1] If you’re using mini trimmers, turn them on and show them to your dog so they can get used to the noise. Lift up the paw by gently holding the hock. Let the paw relax, so you can see the separation between the large paw pad and the smaller paw pads. If you’re using mini trimmers, very carefully scoop the fur out between the smaller pad and the large pad scooping away from you. Be very light with your scooping motion as you’re shaving the delicate skin between the paw pads, and you don’t want to accidentally cut the skin.
[2] What you do once, you do twice, so scoop again. Next, repeat the scooping motion on the other side of the large pad.
Note: If you're using scissors, only trim the excess fur level with the surface of the paw pads. Avoid cutting between the pads, as it's easy to accidentally nick the skin. You'll just need to trim the fur a little more often than you would if you were using mini trimmers.


[3] Next, flip the mini trimmers over and scoop the fur towards you. Scoop twice on both sides of the large paw pad.
[4] Now we’ll remove the fur sticking out between the four smaller pads. Position the mini trimmers below the dog’s nails and glide the trimmers across the top of the paw pads.


[5] The last thing to do is shave the fur on the back of the large paw pad.
[6] Well done, you dog’s paw should look something like this. Don’t worry if you’ve missed a few hairs here and there, it’s really difficult to get them all and you don’t want to over shave the area as it can irritate their delicate skin. If your dog does get irritated and licks or chews their paws a lot after they’ve been shaved, try popping a cone on them or a cone alternative for a few hours.


Hot tip: Whenever you're grooming your dog's legs or paws, start with the back legs, especially if it's their first time or you're unsure how they'll react. Because their back legs are outside their direct line of sight, many dogs are less aware of what's happening and are often more relaxed.
Starting at the back is also a little safer. If your dog does become uncomfortable or tries to nip, they'll need to turn around first, giving you a little extra warning and time to move your hands out of the way. Once they're comfortable, you can move on to the front legs and paws.

Equipment used: Shear Magic Rocket 4500 battery operated mini trimmers
Tips for shaving dog paws
It’s safer to use mini trimmers than scissors
Before using mini trimmers, turn them on and show them to your dog so they can get used to the sound
Scoop gently, and only scoop twice in each direction
Over shaving can irritate their delicate skin
Start with the back paws first
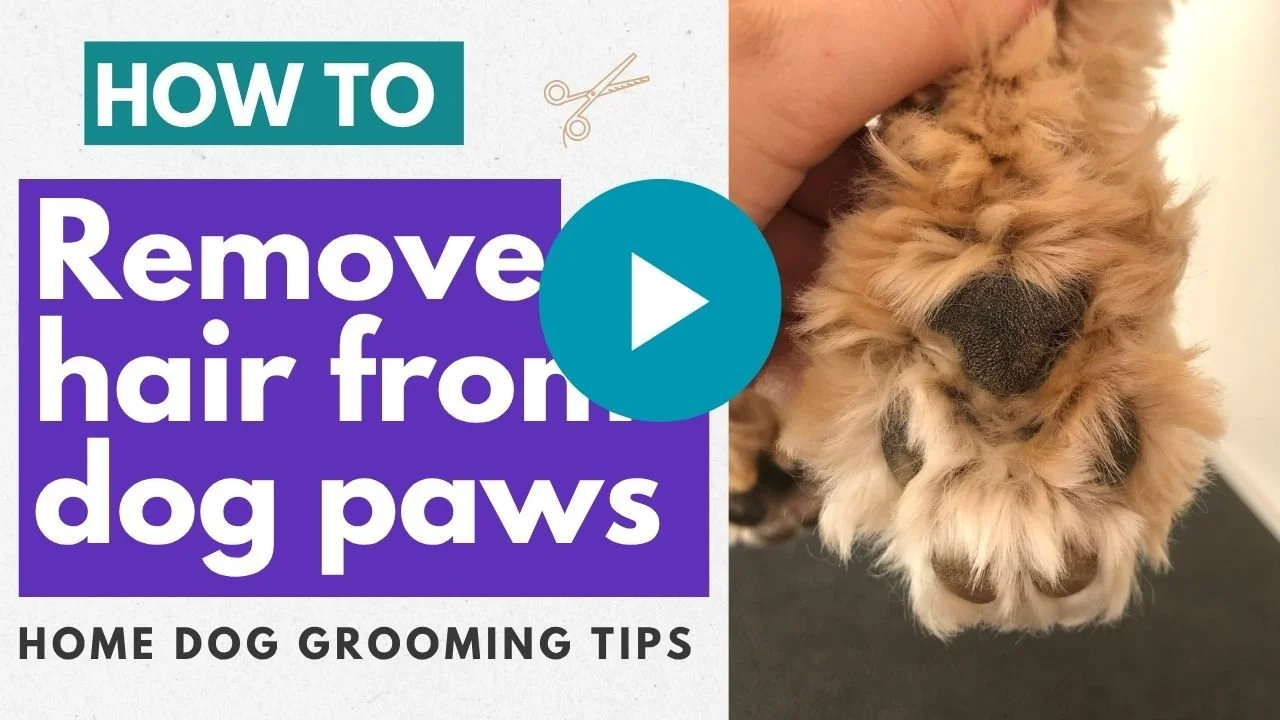
Watch my step-by-step video tutorial
Sometimes it's easier to learn by seeing it in action. If you'd like to follow along visually, watch my step-by-step video where I demonstrate exactly how to safely shave and trim your dog’s paws. You'll see the techniques I use, the tools I recommend, and helpful tips to keep your dog comfortable throughout the process. Whether you're trimming your dog's paws for the first time or just want to build your confidence, this video will guide you every step of the way.
I’m a qualified dog groomer and fur-mum to two cavoodles; Soda and Poppy. I’m passionate about the health and wellbeing of dogs, as well as helping dog parents groom their dogs at home. I’ll teach you the basics, however if you don’t feel comfortable or confident at any time that’s completely fine, book your dog in for a regular groom and pamper session at the salon. Please never leave your dog unattended on a grooming table.
Disclosure: Healthy Happy Paws is a reader supported website. If you purchase products through links on this website we may earn a small commission at no additional cost to you.