
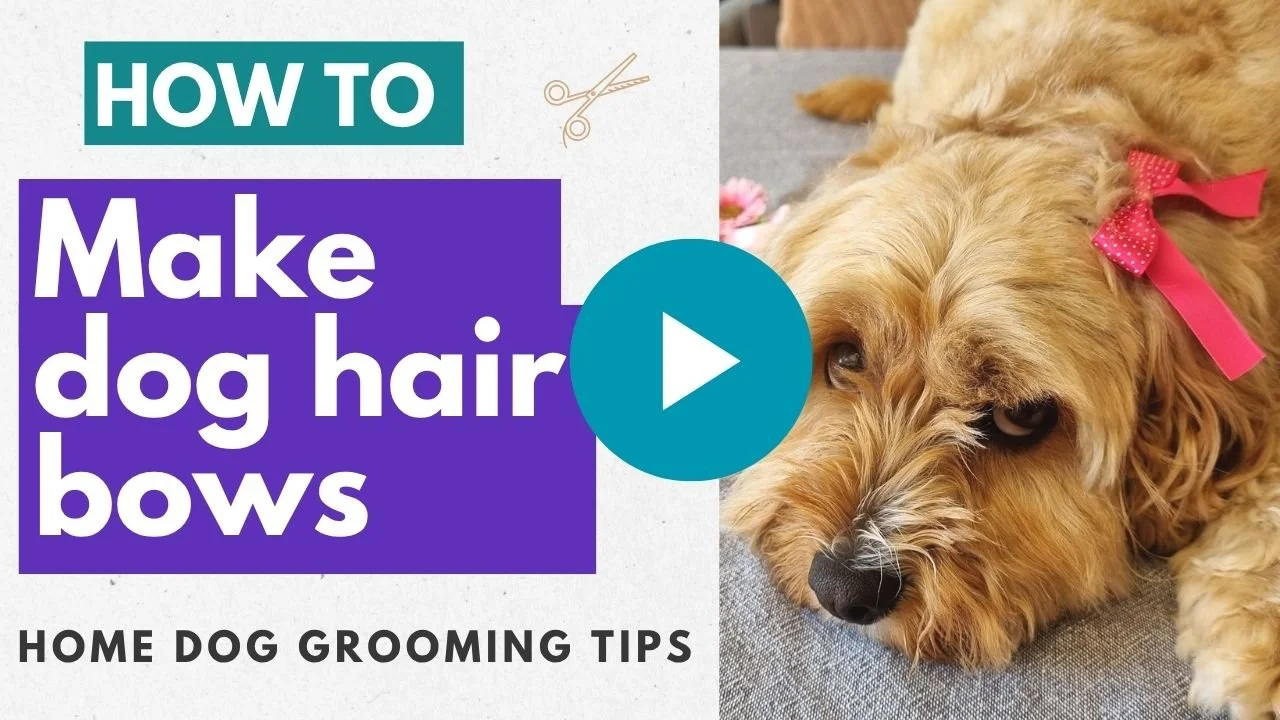
How to make dog bows

Before I became a dog groomer, one of my favourite things was picking up my dog, Soda, from the groomers and seeing a cute little bow in her hair. It's such a lovely finishing touch that makes a beautiful groom feel extra special. After each appointment, I'd save the different coloured bows and pop one back in her hair for special occasions.
When I trained as a dog groomer, I learnt how to make these bows myself, and I was surprised by how easy they are to create. Follow my step-by-step DIY tutorial below and you'll be making your own dog hair bows in no time!
What you’ll need:
Small elastic bands: I use orthodontic elastic bands for braces
Ribbon: I buy my ribbon from my local $2 shop. For smaller dogs, I recommend using a thinner ribbon so the bow doesn't overpower their face. For larger dogs, a wider ribbon creates a more balanced look.
DIY dog hair bows tutorial
Let’s get started - either watch my video tutorial or follow my step-by-step instructions below.
Step-by-step instructions
[1] First, pick up your forceps, and place an elastic on them.
[2] Next, take a piece of ribbon - it doesn't matter how long it is, as we'll trim it later. Fold both ends towards the centre, overlapping them slightly to create the shape shown below.


[3] Flatten the ribbon so it looks like a bow, and place the forceps on top, ensuring the elastic is below the ribbon.
[4] Fold the ribbon from behind the forceps to the front. Hold the ribbon in one hand, while you grab the elastic band with your other hand, and pull it over the top of the forceps.


[5] Fold the ribbon again behind the forceps. Then holding the ribbon in one hand, use your other hand to grab the bottom elastic and pull it over the top of the forceps.
[6] Turn the forceps over. You’ll see the elastic band has wrapped twice around the ribbon. You want the elastics to be together, so use your fingernails to adjust them into the center of the bow.


[7] And there’s your bow. If the ends of the ribbon are too long, trim them with your scissors.
[8] The elastic bands I'm using are a little on the large side, so I'm going to wrap the band around my forceps one extra time. This makes the elastic tighter, helping the bow stay securely in your dog's hair without slipping out.


Your bow is now ready to go in your dog's hair!
To attach it, simply open the forceps, gather a small section of hair just above your dog's ear, and slide the elastic band onto the hair. Then gently remove the forceps and adjust the bow until it's sitting just how you like it. That's it!

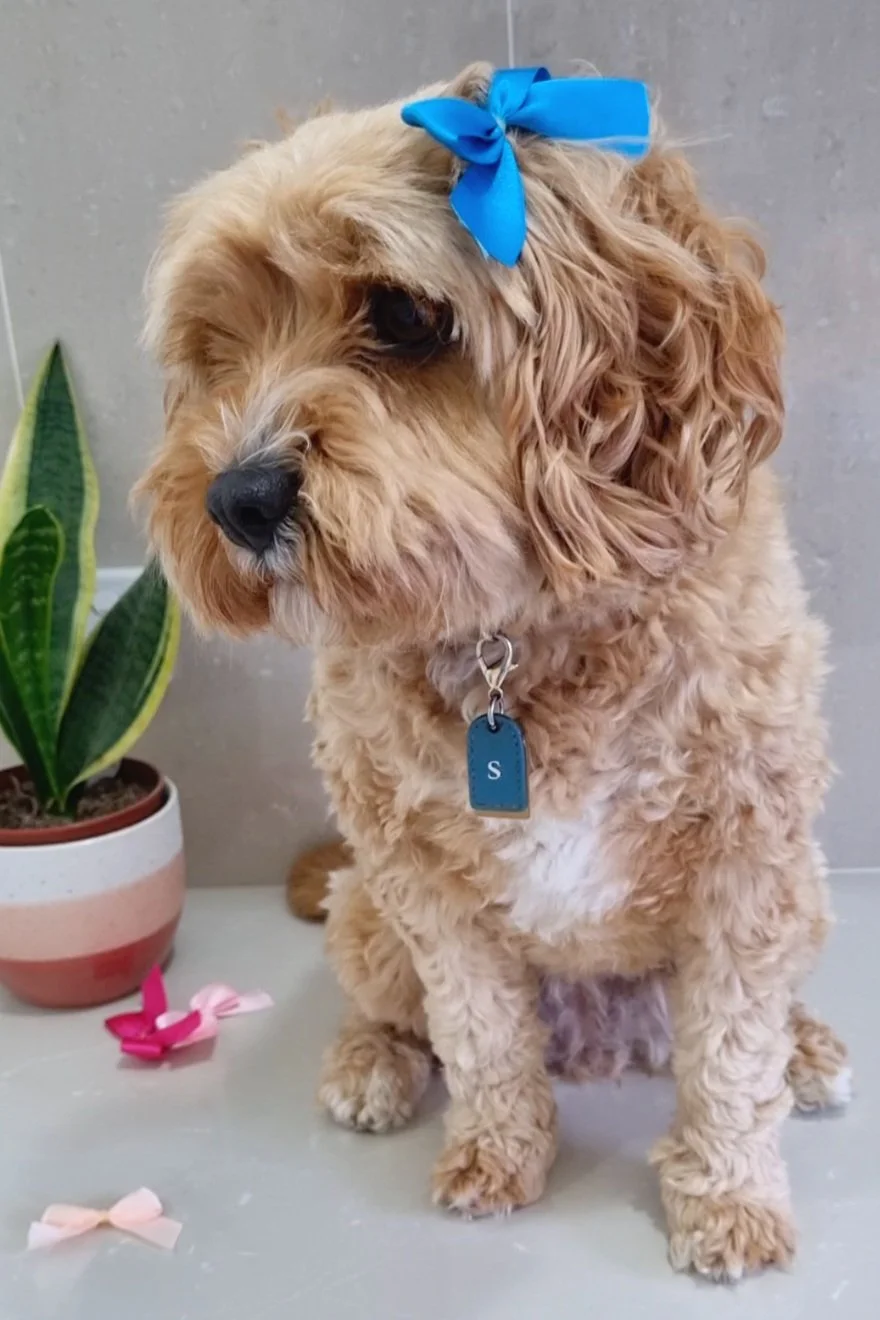
How adorable does Soda look?! I love putting bows in her hair after I've groomed her, or when she's heading to a dog party and deserves to get a little dressed up.
Soda isn't usually a fan of wearing things on her head, but these bows are so lightweight she barely notices they're there, so she doesn't try to shake them off.
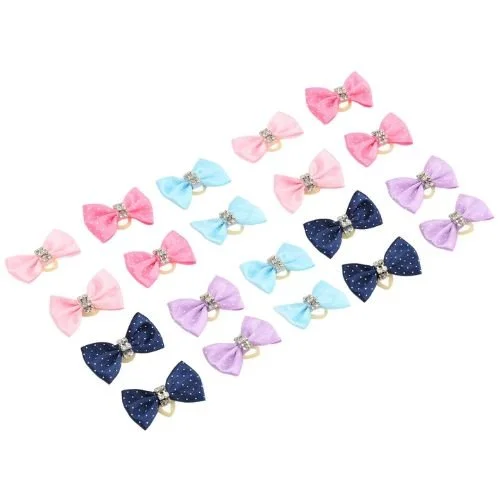
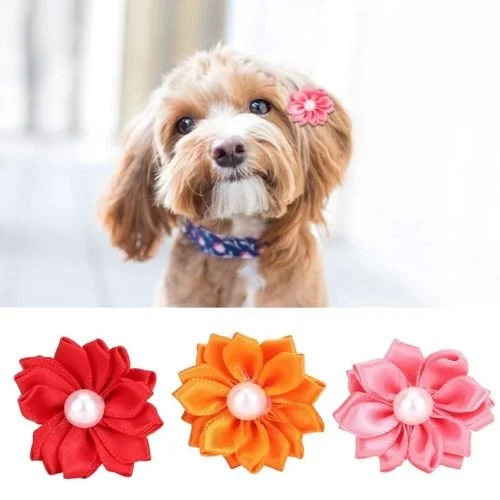
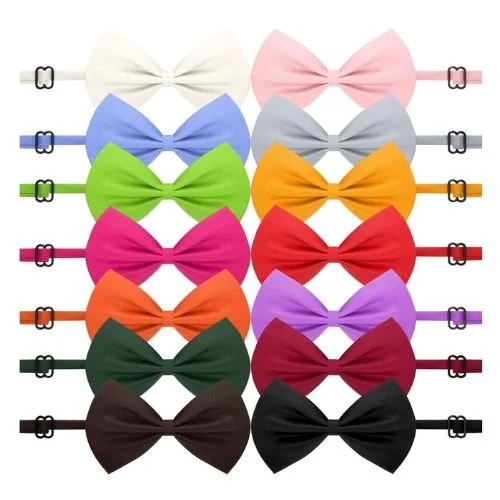
If you'd prefer to buy ready-made dog hair bows, here are a few great options worth checking out:
I’m a qualified dog groomer and fur-mum to two cavoodles; Soda and Poppy. I’m passionate about the health and wellbeing of dogs, as well as helping dog parents groom their dogs at home. I’ll teach you the basics, however if you don’t feel comfortable or confident at any time that’s completely fine, book your dog in for a regular groom and pamper session at the salon. Please never leave your dog unattended on a grooming table.
Disclosure: Healthy Happy Paws is a reader supported website. If you purchase products through links on this website we may earn a small commission at no additional cost to you.